
"Warped Plywood", or "How to Build an Instrument Service Pad From Scrap", Part 2
Here's the 2nd half of our "how to make an instrument work pad from warped plywood" article. Candidly, we think it's a little boring, but we also think the information that's provided in the article, should you retain it(!) will help with your possible future musical performance endeavors. Dealing with warped/bowed plywood is likely going to be something you may have to deal with more than you thought you might... It's happened to us!
Here's the first article if you're coming into this halfway...
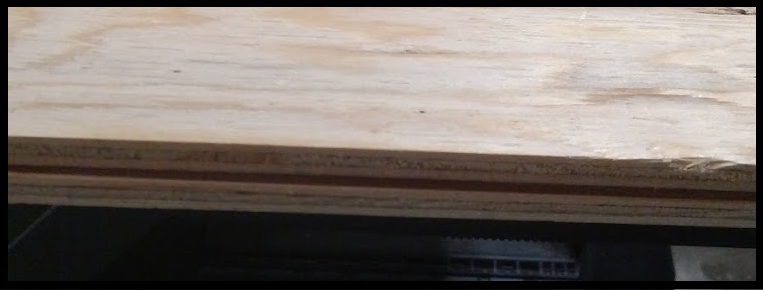
So where we left off was looking at a single piece of bowed plywood. Clearly when dealing with a single piece of bowed plywood, you'd set the arc of the bow away from the ground and put heavy weights on it. That's exactly what we did with the plywood that was cut for replacing the particleboard that was originally on the shelves. As you probably already know, the glue holding the "sawdust" of the particleboard together is extremely cheap. Once particleboard gets wet the glue practically dissolves and causes the particleboard to "pillow" out. As a result, that piece of particleboard that gets wet loses most of its structural integrity.
So we were unfortunate enough to have plywood with a bow, but were fortunate enough to have plywood pieces which had roughly opposite bows. And here's what we did with them. We placed the board pieces such that the arcs of the bows faced opposite to each other.
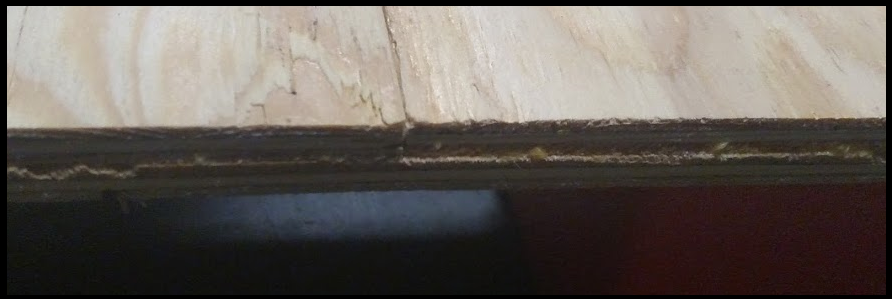
We then covered the faces of the bowed boards with some of our older leftover Titebond wood glue (less than $3.00 per bottle). We then used some clamps and some yet-to-be installed iron transformers (for weight) to smash the glued faces together - like so:

Titebond, when it dries, makes a bond that is actually stronger than the wood being glued up. Here you can see we have just a little bit of glue peaking out of the glued seam - this is the indication of a well-glued seam. Woodworkers then usually take a razor or chisel to the drops after the extruded glue has hardened. If so much glue is used that the extruded glue actually drips down the piece, a wet rag is employed for cleanup BEFORE the glue cures.
In our own instance here, we cut placed the boards such that only one-half of a board face was glued to another half of board face. This allowed us to overlap board pieces while gluing them up. We would glue up and then clamp and weigh down board pieces, and then allow the glue to cure and dry until the next day. Then, the next day, we would rinse and repeat. This took us about 8 or 9 days total only because once we'd glued up seven pieces, our pad was long enough. On the last two days, we took the 8th board, sliced it in half and then glued up one remaining half-face one day, and the last remaining half-face the last day.

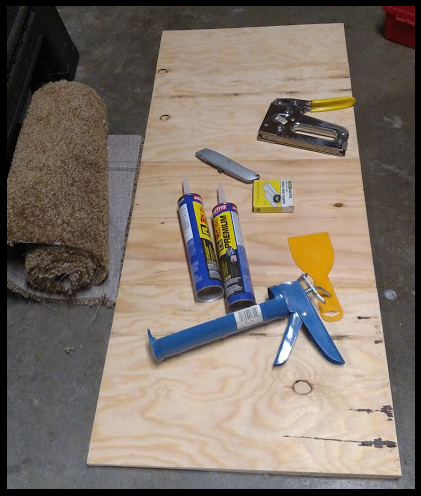
Now it's only a small matter of squeezing a tube or two of "PL" adhesive out onto the board, placing the carpeting, and then stapling it down. "PL" stands for "Pro Line" and comes to us by way of GreenBoy Speaker Enclosures. Greenboy recommends PL exclusively for biscuit joints or dowel joints.
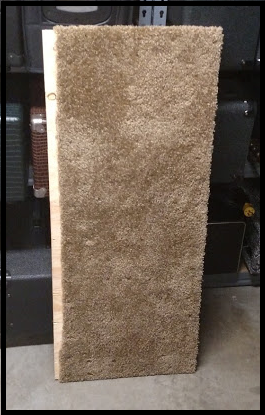
And here's the finished product. With the PL, that carpet *CAN* be taken off, but it'll be a good amount of effort:
A list of our pictures: