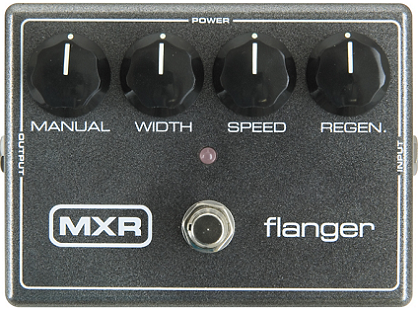
M117R Flanger
Guitar PCB 4-Track Fuzz - a heavy distortion/fuzz based on the sound one get from overdriving an old 4-track cassette recorder
Controls


- Knob 1 - "Manual": This knob changes the centerpoint of the spectrum of the flange sweep. Turn clockwise to increase in frequency.
- Knob 2 - "Width": This knob controls the "width" of the sweep of the effect swell. Turn clockwise to increase that width. Turning completely counter-clockwise removes this
- Knob 3 - "Speed": This controls how quickly the swell traverses the width of the flange. This control is also "zeroed-out" when the WIDTH is turned all the way down.
- Knob 4 - "Regen": This knob controls the intensity of the flanging effect. Turning completely counter-clockwise makes the flanging effect very faint. Clockwise increases the strength of the effect.
Tricks
This flanger, unlike most others, has a couple of tricks that you may find helpful:
- Set the sonic space of where you want your flanging effect to sit:
This sounds a little odd, but it's actually pretty cool. With the WIDTH set completely counter-clockwise, there is no "motion" in the flanging effect. This also means then that when the WIDTH is set to "zero" that the MANUAL knob becomes far more useful. Doing this, if you play the instrument and listen, you can get a sense of where, sonically, you want the flanging effect to sit. Once that's decided, you can then adjust WIDTH, SPEED, and REGEN to get the preferred flanging effect "coloration" you want on your tone.
- Why the first knob is called MANUAL:
With the WIDTH set all the way off, if you turn the MANUAL knob back and forth while playing, you'll notice you're invoking a manual sweep of the flanger effect. Here at Thermionic Studios, we've actually thought it would be a really cool idea to put such an effect into a treadled pedal (like a Wah-wah so you could control a flanger effect in the same way you can control a wah-wah effect.
Bypass:Unknown
General Information
One of the bigger innovations that made the original M117 Flanger so lush in 1980 was, unlike other companies who had built flangers only using a 9-volt power supply, that the original MXR Flangers had a built-in AC power cord that plugged into a standard 110-120 volt AC wall outlet. This allowed the engineers at MXR to build a much higher headroom flanger with opportunity for more spacious sounds.
Today, the remake of the M117 carries on that tradition, somewhat, with use of two batteries, or an 18-volt AC power adapter.
Pedal Manual
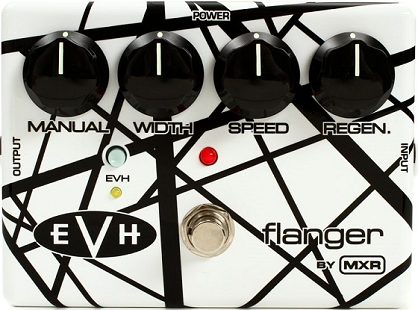
Model:EVH117 Flanger
This is the original Eddie Van Halen version of the
Additional Control
- Button 1 - "EVH button": Depressing this button (it's a toggle) overrides the pedal's knob settings and activates the settings preferred by Eddie Van Halen. This provides the familiar "And The Cradle..." or "Unchained" swoosh.
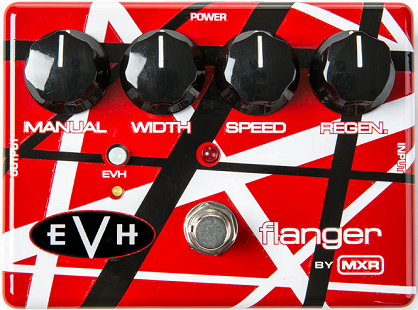
Model:EVH117SE Flanger
The 35th Anniversary Special Edition or "EVH117SE" was released with what we would consider a motivation to pleasing those who might want to buy a vanity version of the MXR Flanger. Jim Dunlop issued the EVH 35th Anniversary version of the original MXR EVH117 Flanger. The only thing separating this Flanger from the EVH117 is the paint job and a "high gloss" finish. Otherwise it is exactly the same as the EVH117 version of the MXR M117-R (reissue) Flanger with the "EVH button".
We own a copy of this so we could be oh-so-cute-and-matchy-matchy with our 3-color EVH-90 Phase 90 Phaser.
Phase Inversion
Schematic
Artists
We are currently unaware of any artists actively using the pedal now, or who have in the past.
- Additional Sources